Build your own Taser
This is a guide to build your own taser with computer parts you probably already have and some other parts. Please be aware that this taser produces very high voltages and can lead to massive damages if not used with caution.
T
A
S
E
R
Build your own Taser
This is a guide to build your own taser with computer parts you probably already have and some other parts. Please be aware that this taser produces very high voltages and can lead to massive damages if not used with caution.
What you need
- a power supply unit of an old pc
- copper wire / earphones that were cut on both ends
- 4 × 9V Batterys (you can use lower volt batterys, but every
volt less increases your reload time)
- Crocodile clips (to connect the batterys with the capacitor)
- Duct tape (Not necessary, but it could help you if you need to
insulate something or fix something in place)
- a button
- a Screwdriver
Instructions
1. Step
Connect the 4 × 9v Batterys together, like this:
Here the image.
(they do not need to be some expensive ones, I just used some from IKEA for 2€ a piece)
2. Step
Open the old pc and remove the power supply unit. The
power supply unit can normally be found in the area I marked in the pictures.
Here the image.
Here the image.
3. Step
Open the power supply unit with a screwdriver
(you may need some force to open it, if not all screws
can be removed).
4. Step
After you opened the power supply unit, you should already be
abled to see some Capacitors (picture 1). Get the biggest Capacitor
possible out of it by pushing it up and turning a bit on it.
Here a picture of the capacitors i got out of my power supply.
The biggest or the one i used for my taser is 3cm/1.5" in height.
(the one on the far right).
Here the image.
Here a picture of the capacitors on a motherboard
(I only have a old motherboard left to spare, so i cannot show
pictures of the original power supply unit. But I think you get the idea.)
Here the image.
5. Step
After you successfully removed a capacitory, hook it up to one
of the 9V battarys (wear cloves, and protect your eyes in
case the capacitor explodes.) After 10sec hold the two wires of
the capacitor onto a piece of metall (at least 1m away from your
body) and look if someting happens. If nothing happens, repeat
the above said with more 9V batterys as long as nothing happens.
If you can see a big spark, like in the video of my taser, then
you shouldn't touch the wires of the capacitor in any any more(
this could lead to you being electrocuted).
Now your taser is already finished. The only thing left to do is
building a case for it.
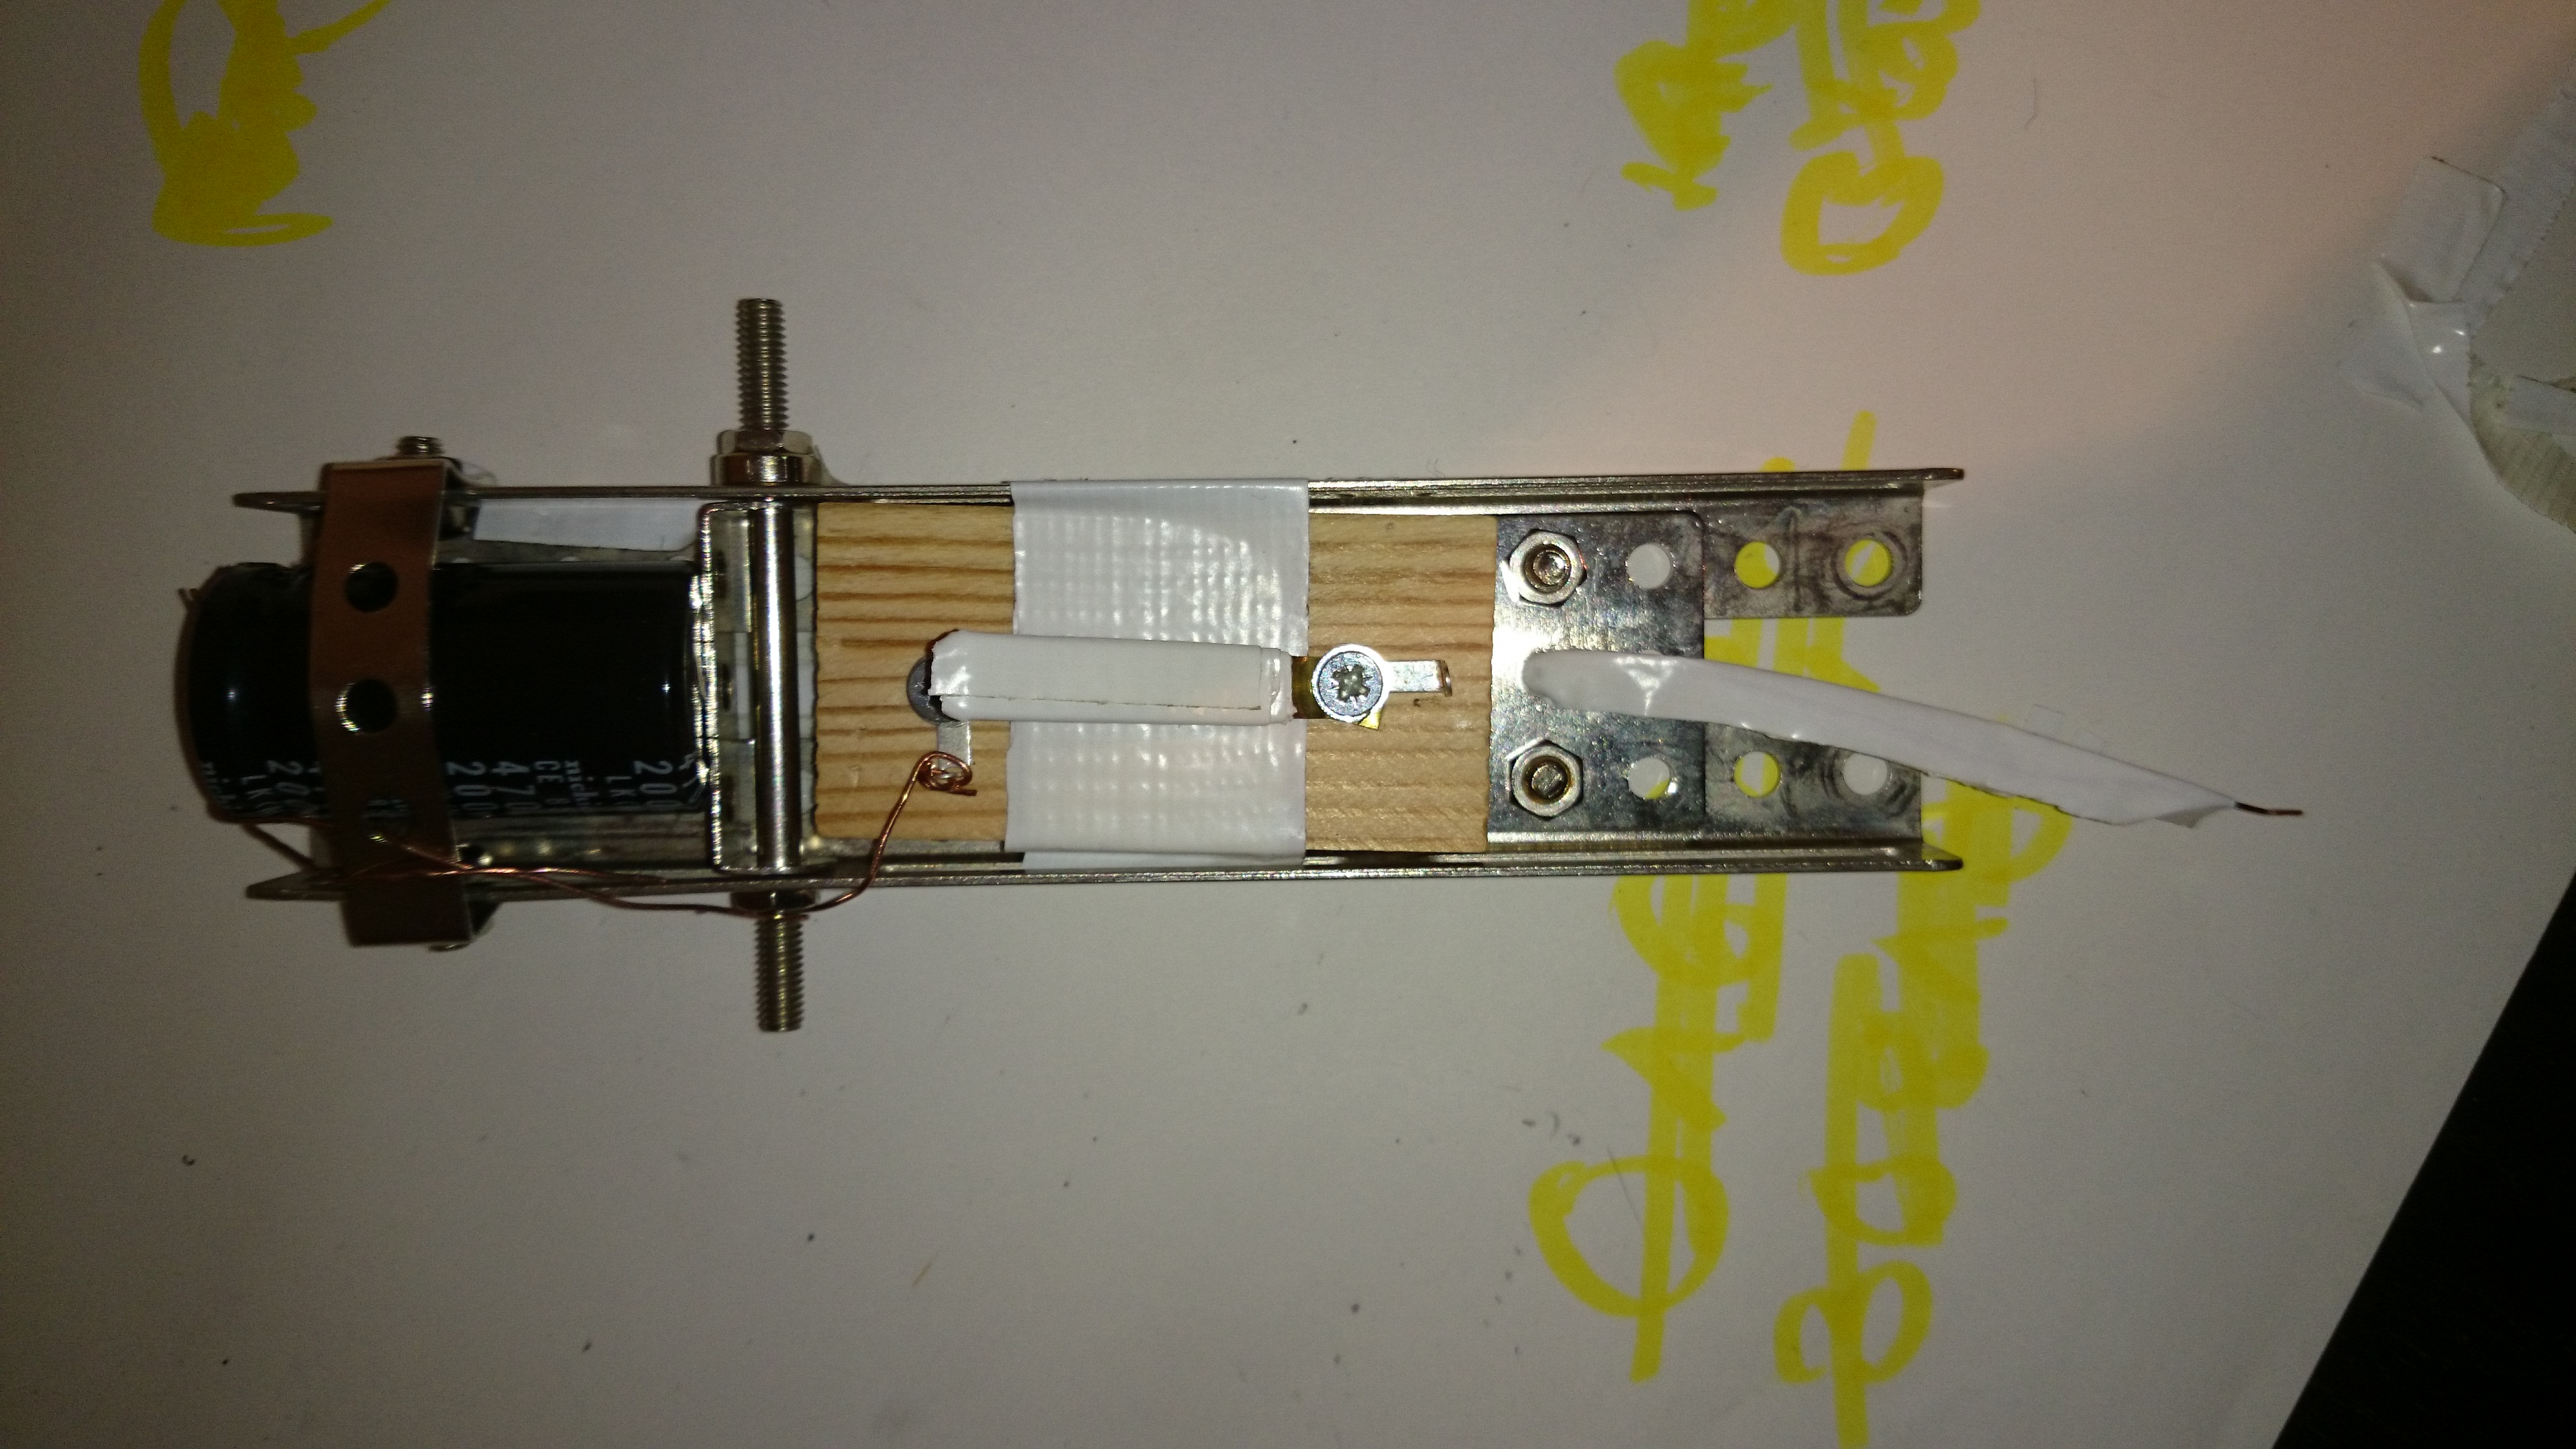
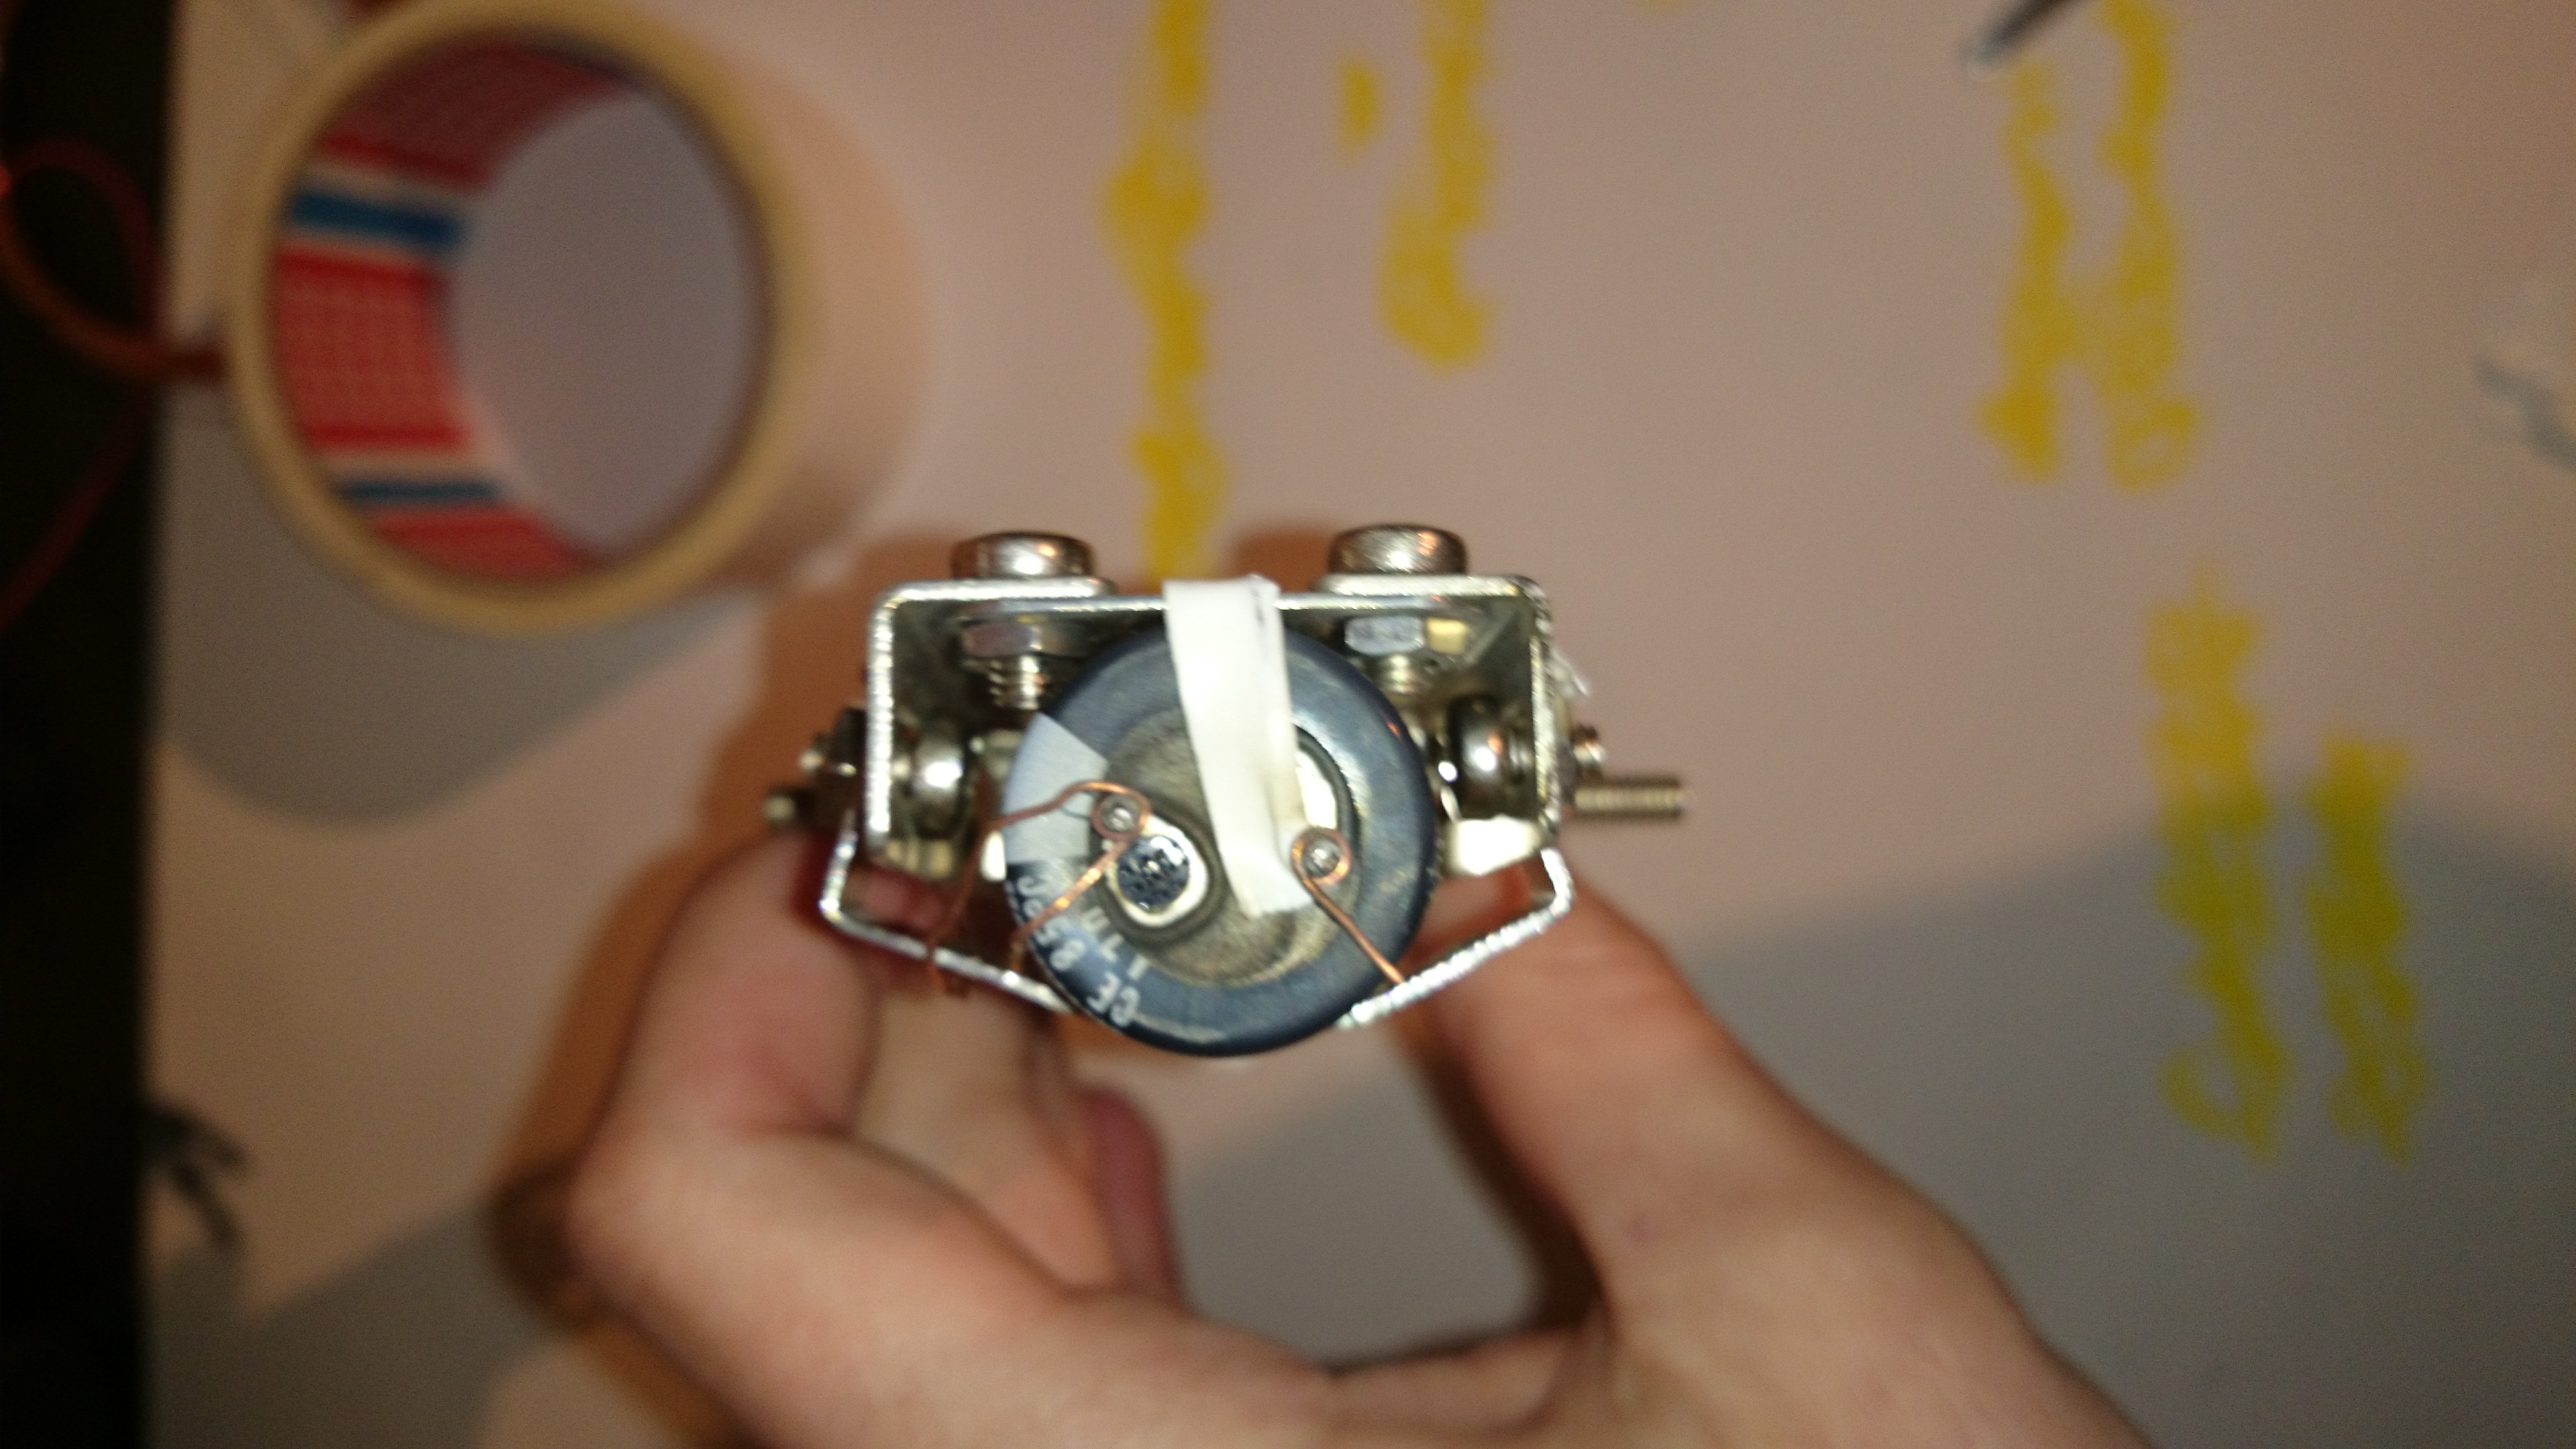
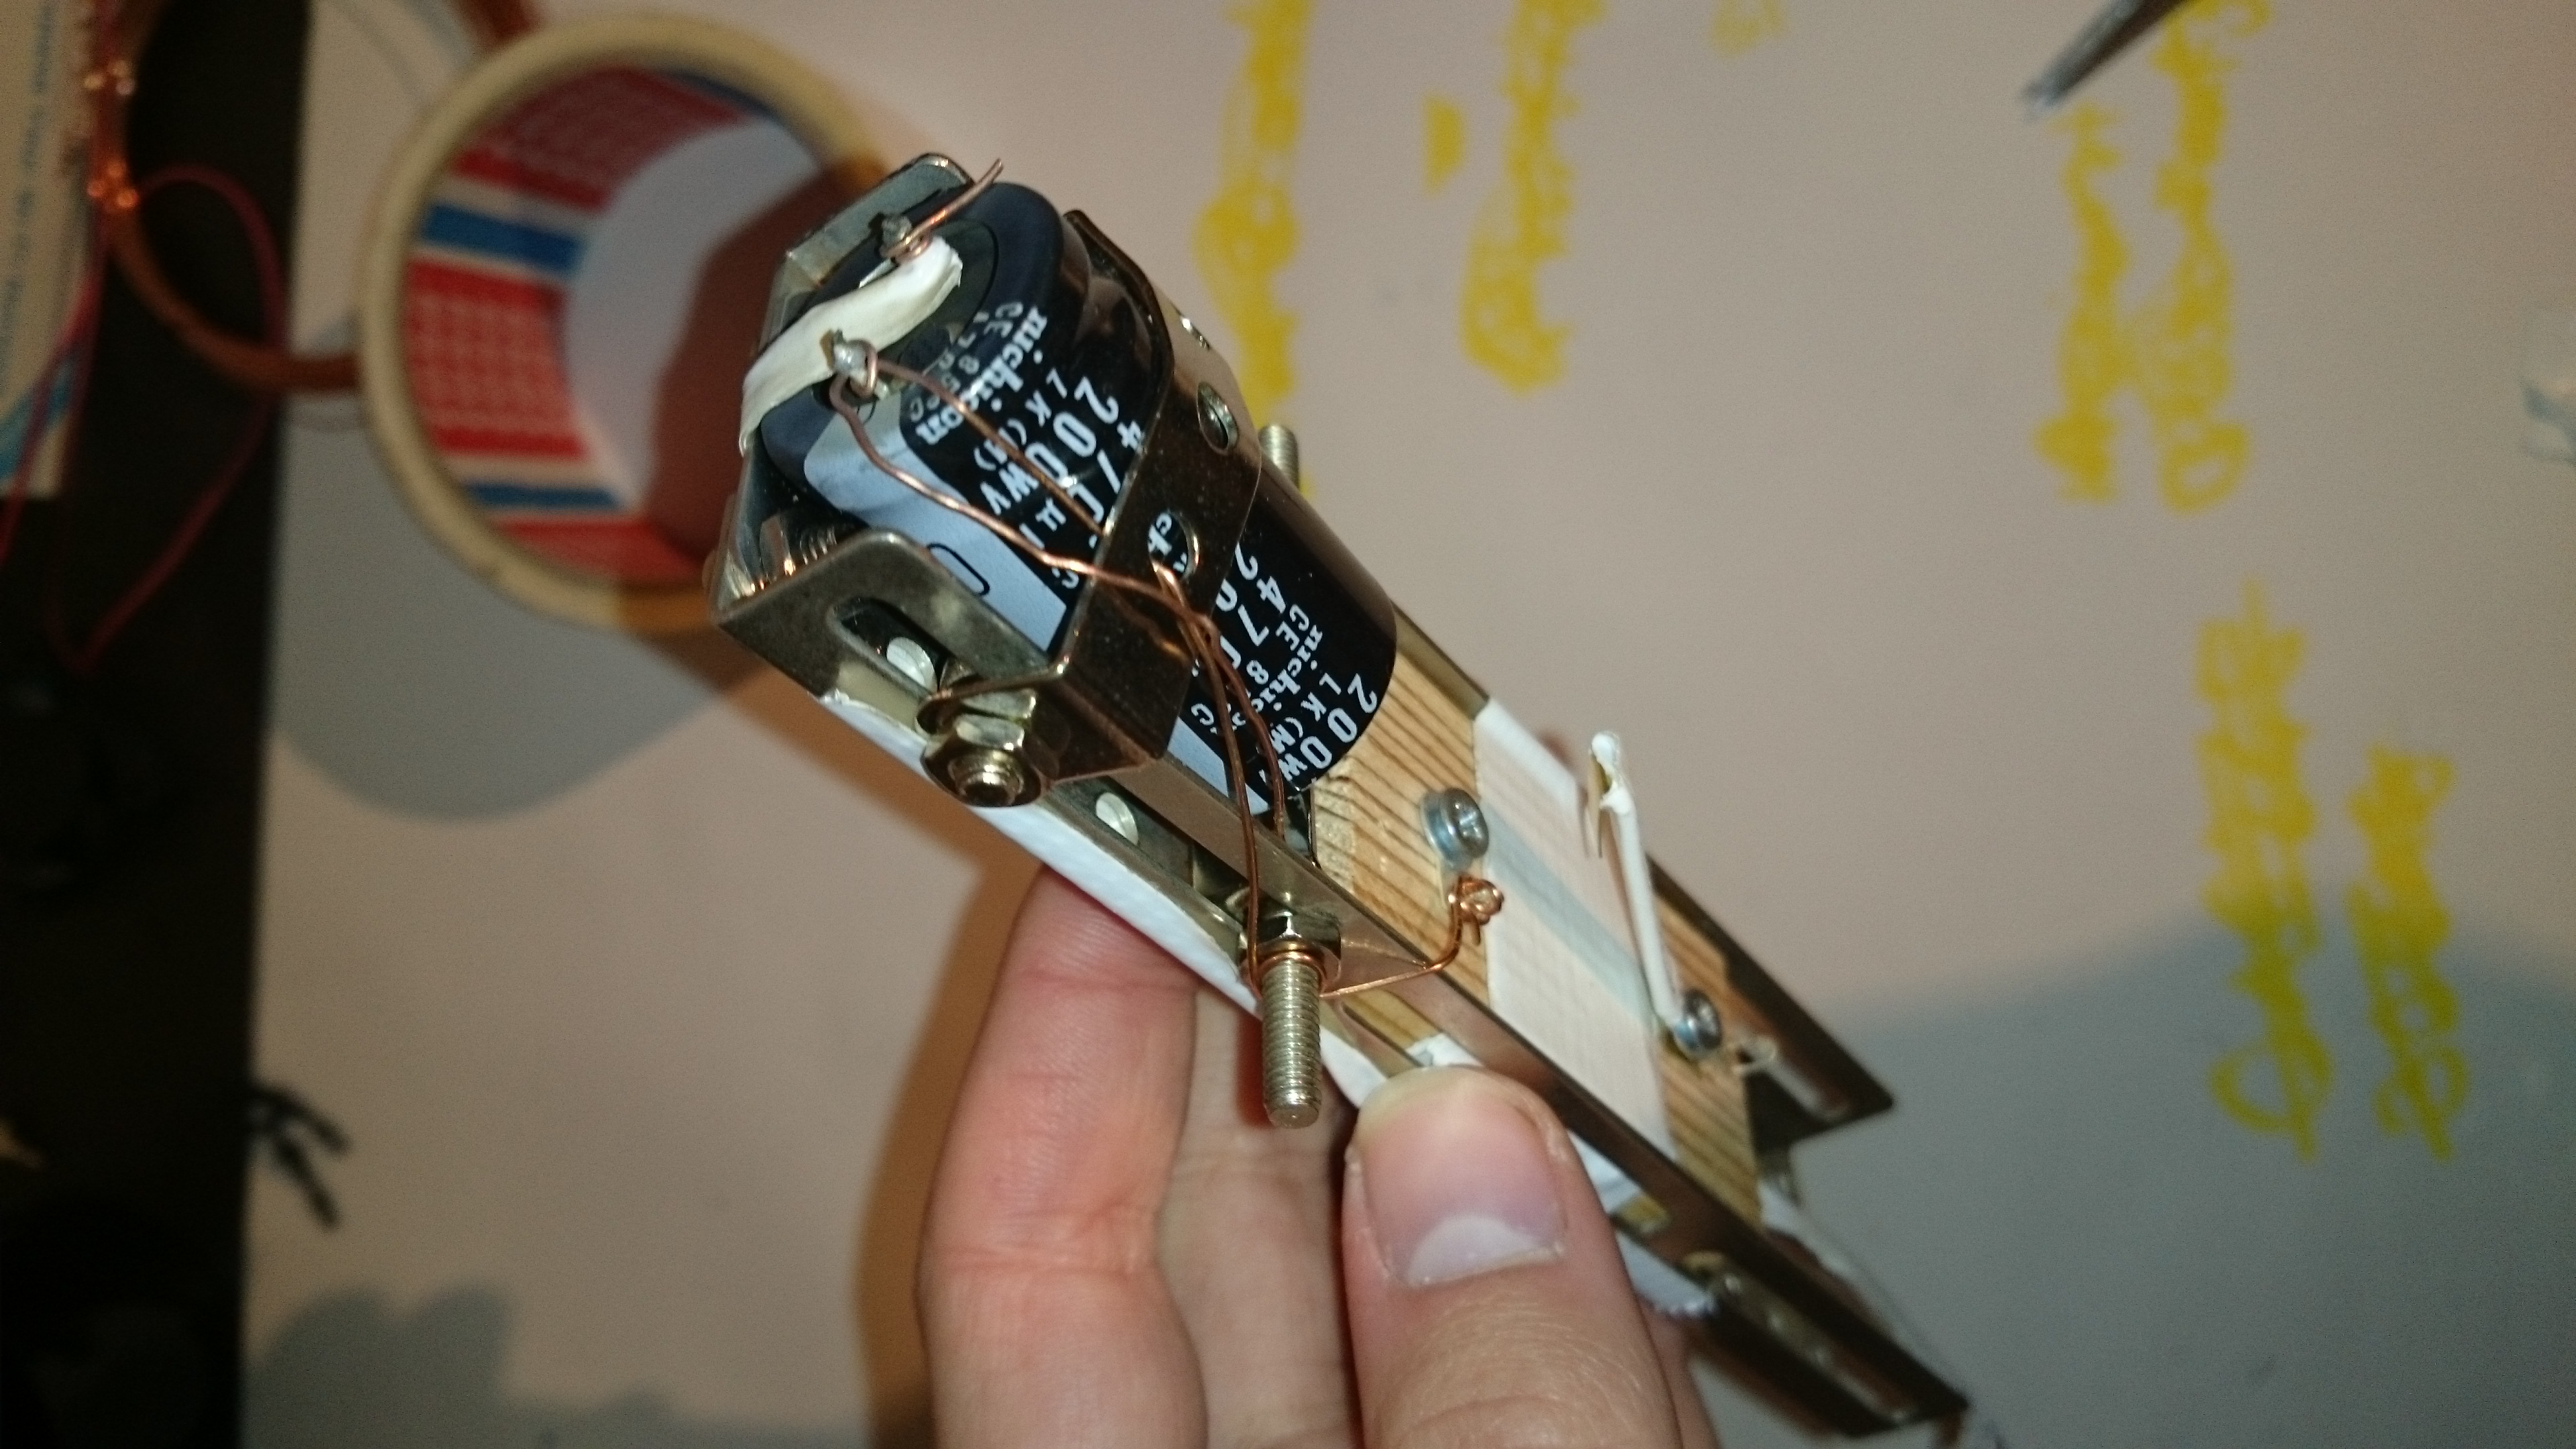
6. Step
The last step is building a case. I made mine using some old
metall plates with wholes drilled into them. These holes allowed
me to fix everything in place using just some srews.
If you do not have some spare metall plates, you can use the
power supply units case. Just drill a hole into it and but the
capacitor halfway through it.
7. Step
The very last thing to do is connect the capacitor to the
batterys with a button.
Just connect the two ends of the capacitor to two different
wires. Wire1 should lead to nothing and the Wire2 should lead to
the button.
Now only connect the wires to the batterys using the
Crocodile clips and watch and you are finished.
Here a few images
Here a video of it
Note: I don't know if you noticed, but i didn't charge the taser in
any way. If you press the button for 10+ seconds and the release it,
then the spark are much bigger.